Naver Smart Store representative image size: Image resizing
2024. 4. 1.
Have you ever seen an eye-catching product display in a department store? It has the power to stop people from walking and attract people into the store. Each store displays and expresses its products, but there are some department stores that are sometimes hard to see and are too small to identify. In this case, you probably don't go into this store, but you go to a more attractive place where the products are displayed.
The representative image in the Naver Smart Store is this product display. It is the first photo that potential buyers encounter and leads them to your shopping mall. Setting the representative image size correctly in the Naver Smart Store is critical as it not only shows the product bright and clear, but also gives buyers credibility and increases the likelihood of clicking and purchasing. Read on to learn how and requirements to register a representative photo in the Naver Smart Store.
What is the best image size for Naver Smart Store representative images?
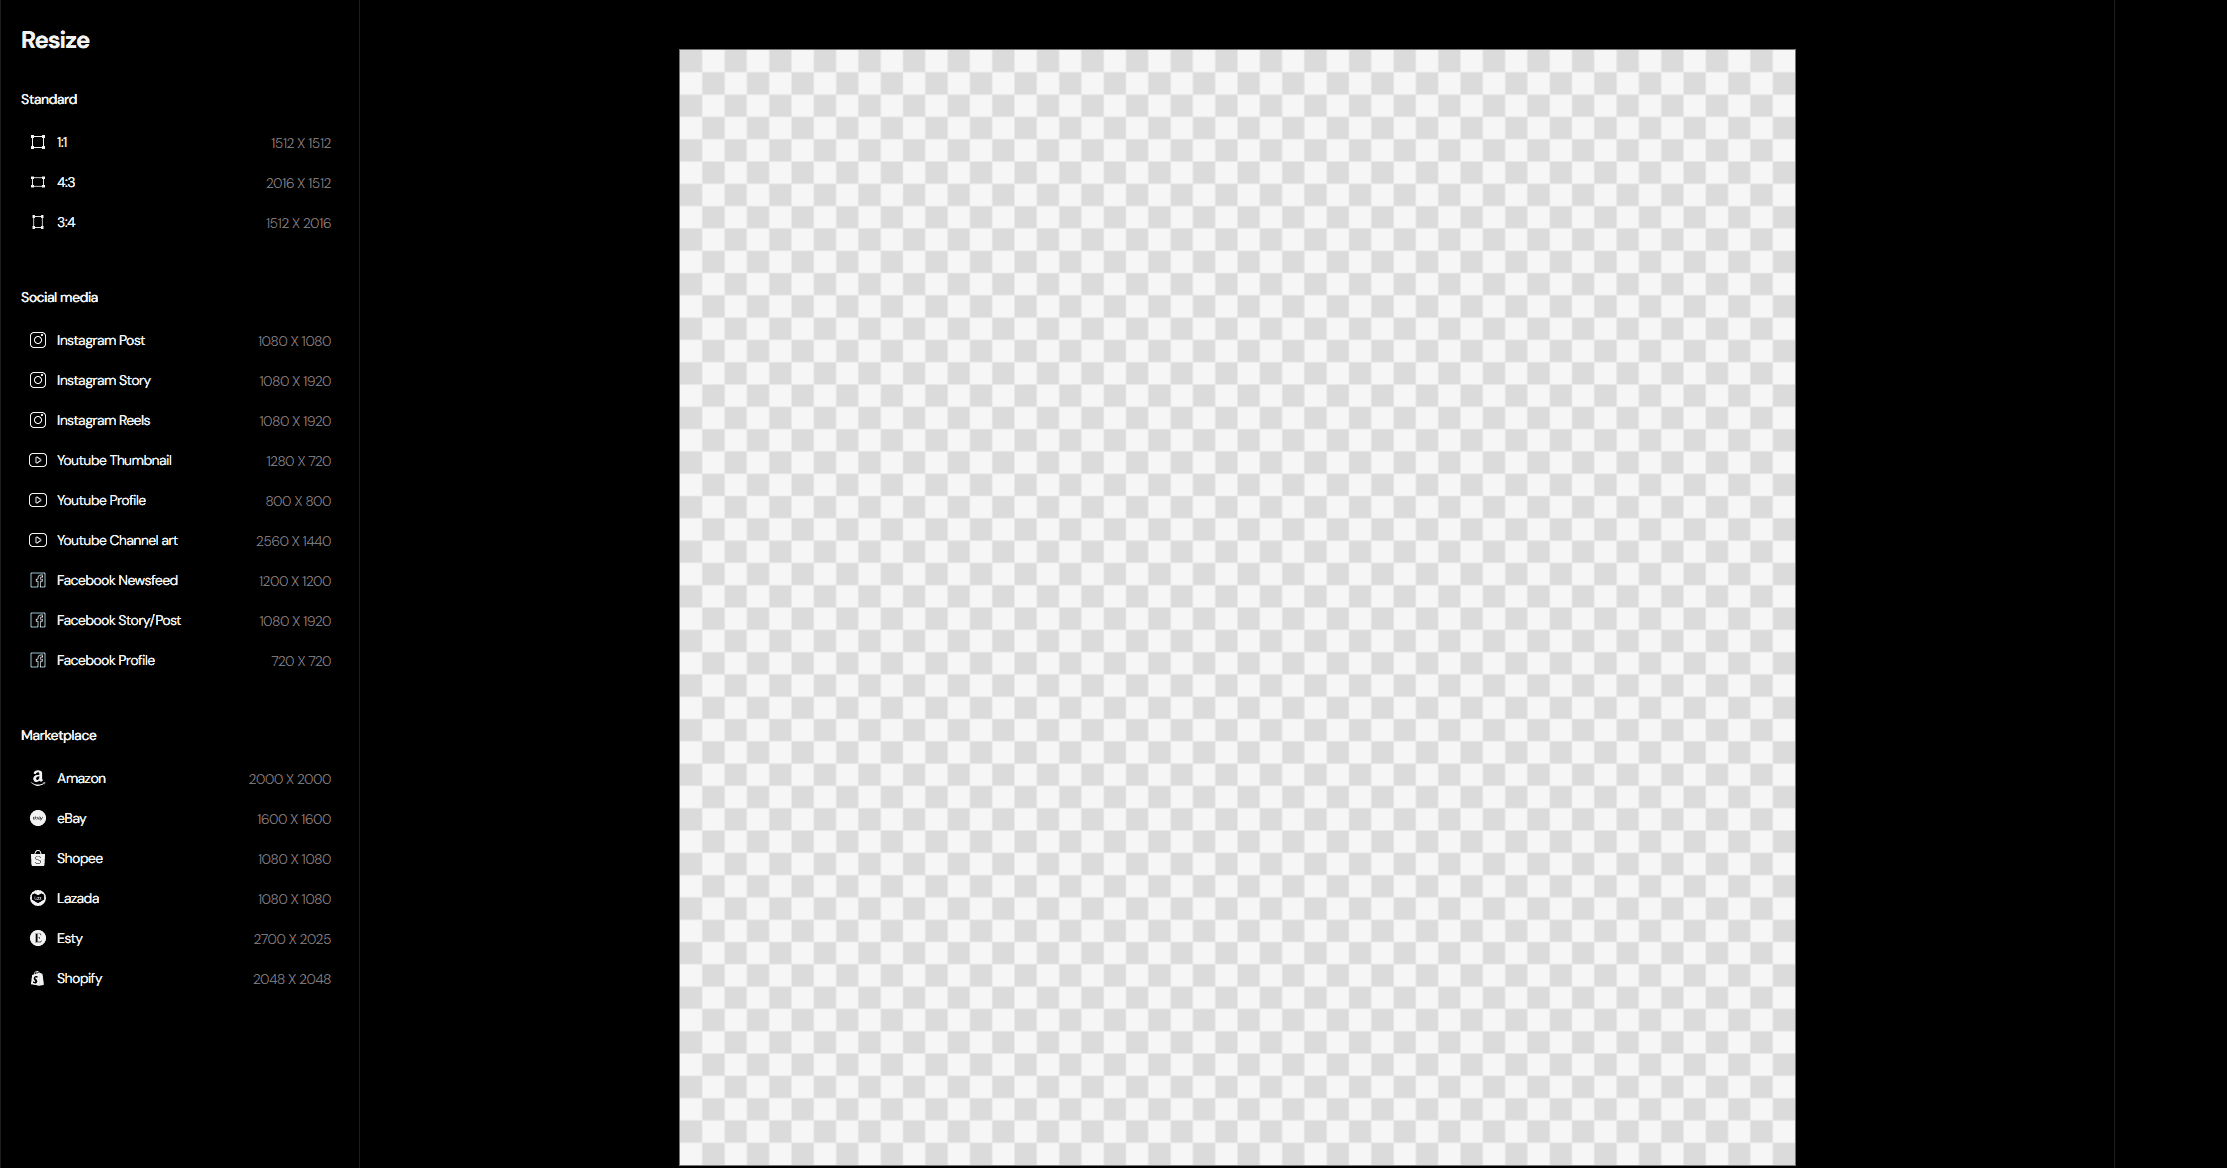
According to the Naver Smart Store, the recommended photo sizes are as follows.
- It must be a minimum of 160px * 160px maintenance rate image and the recommended size is 1,300px wide or higher.
- The file capacity can be up to 20M, and only JPG, JPEG, GIF, and PNG formats can be registered.
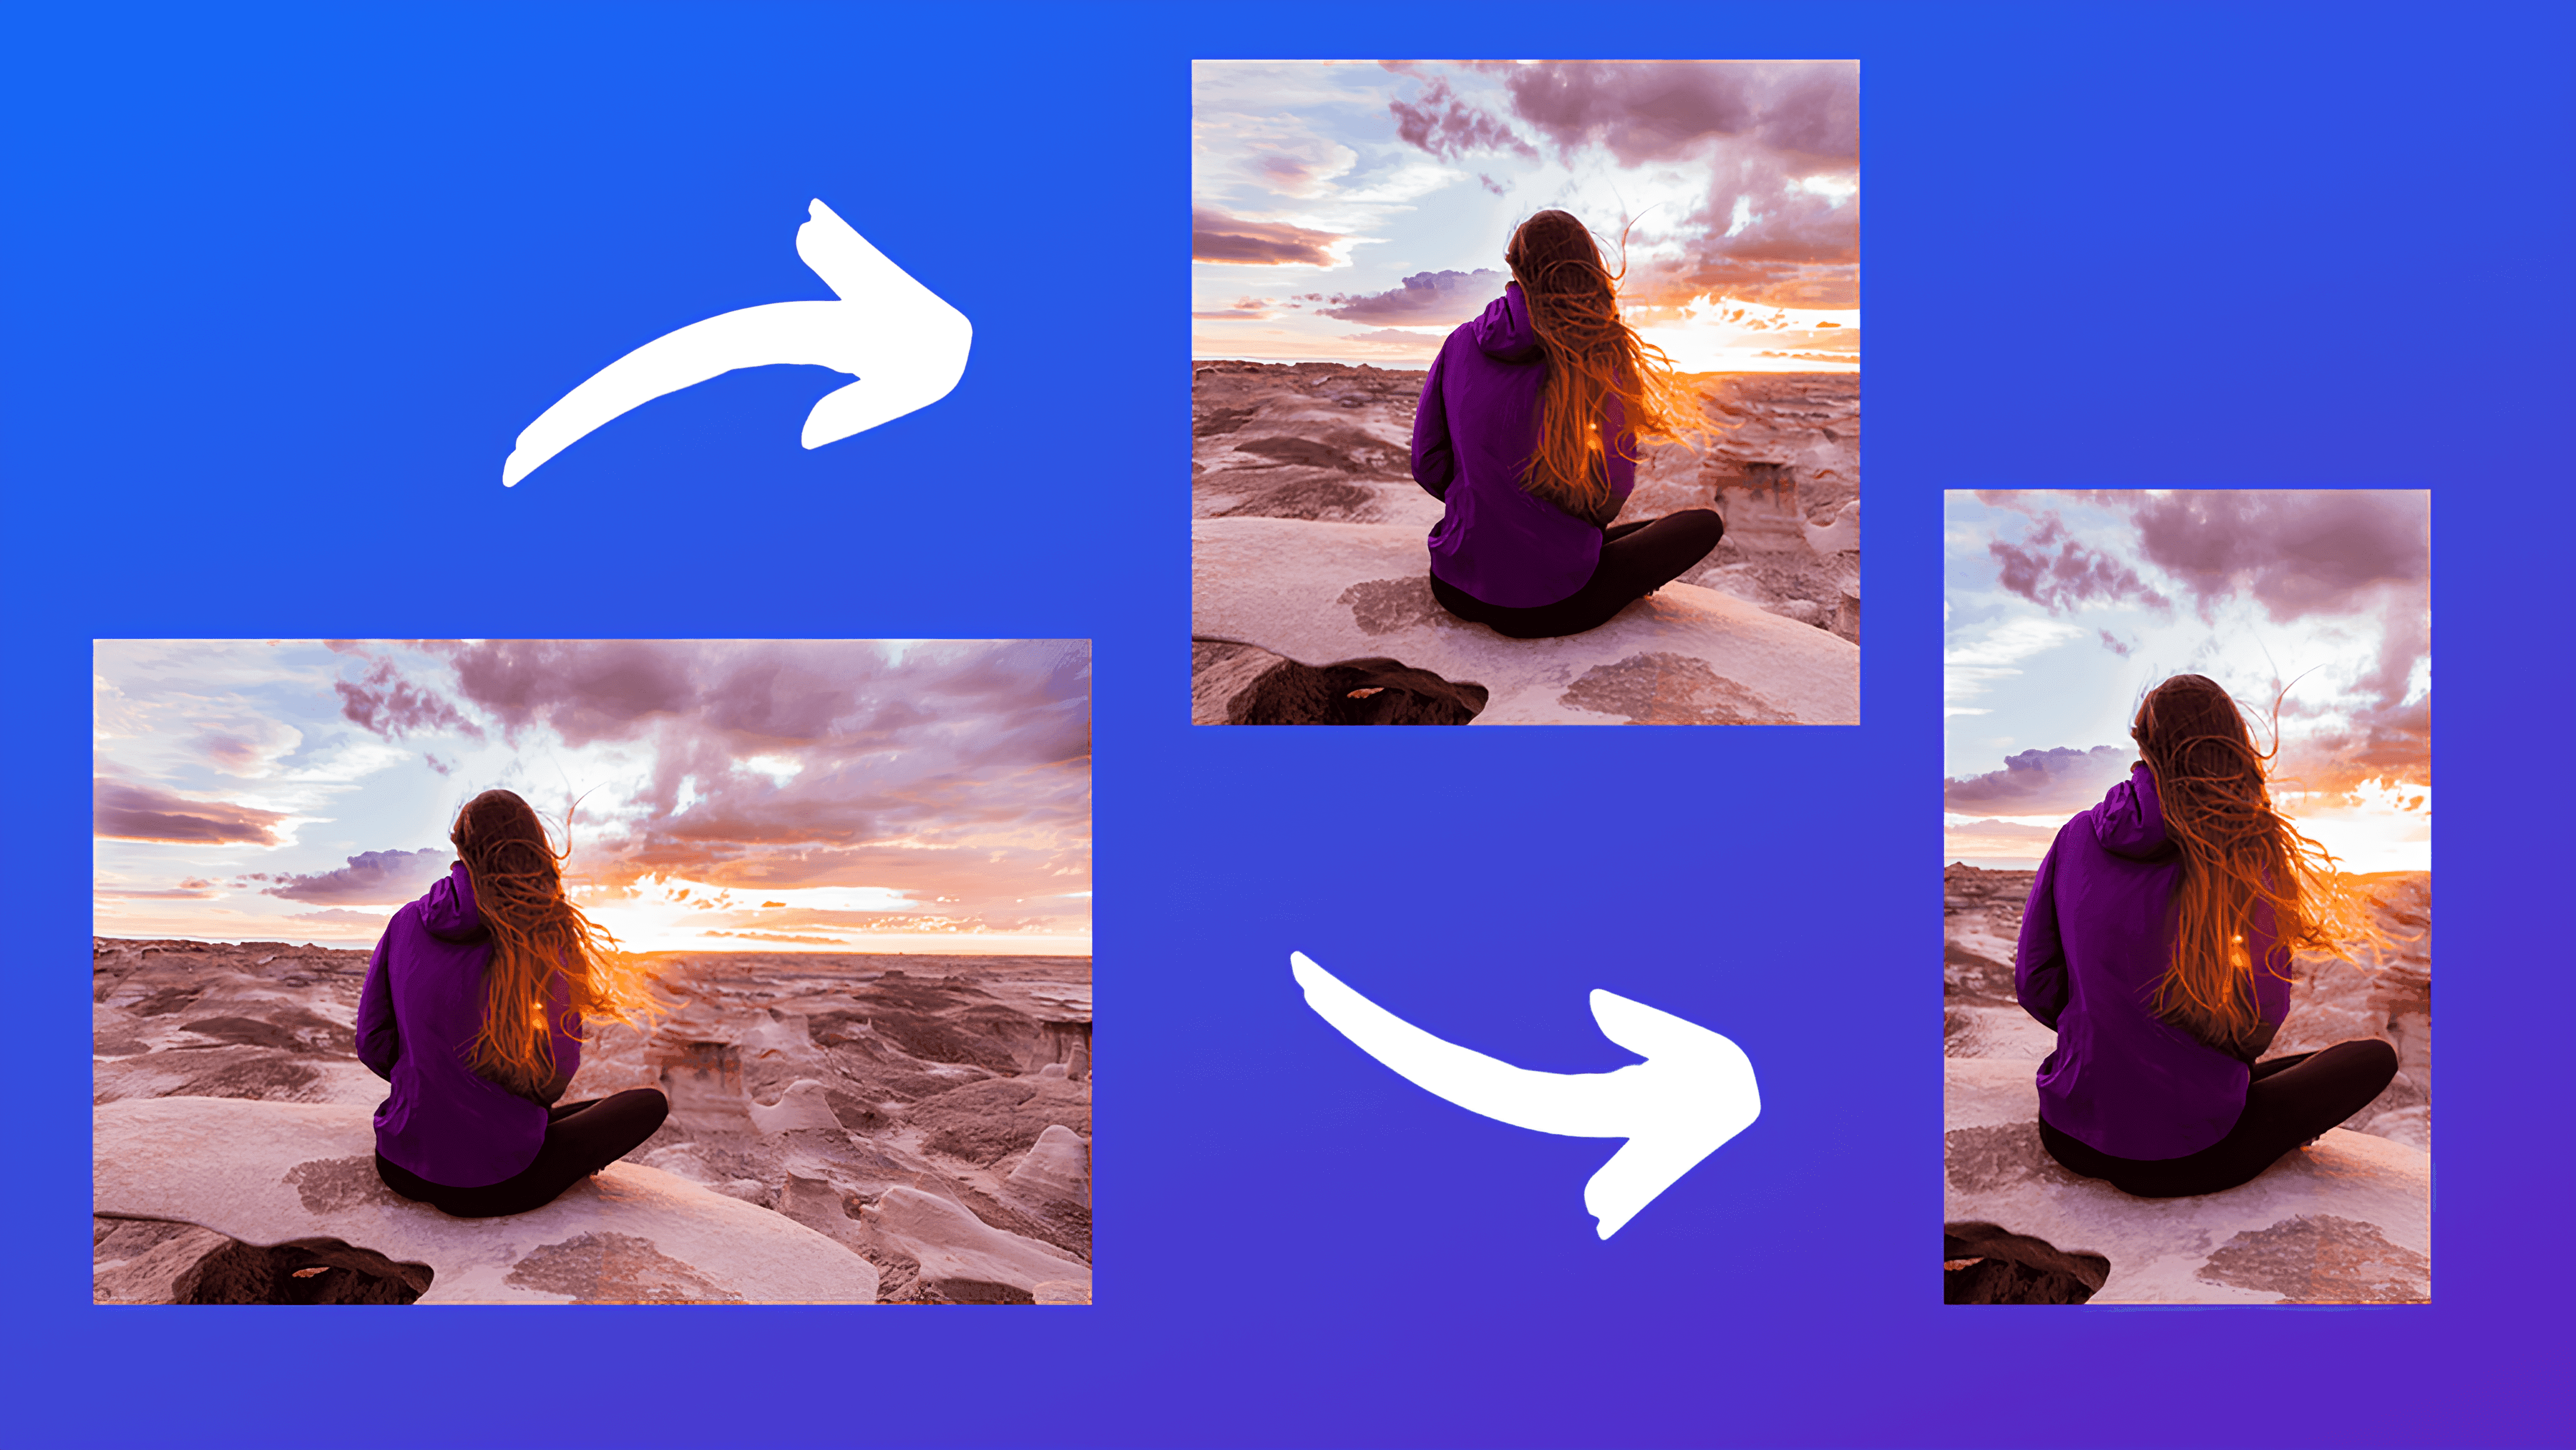
- We recommend a 1:1 image.
Because the 1:1 landscape image is a recommendation, it can be uploaded even if it is not a forward image. However, in order to optimize the top exposure, it is recommended that you do as recommended by Naver.

How to resize photos on your PC
PCs already have built-in tools to resize images. The following is that you have to do it one by one.
- Use Mac's preview tool
1. Open Finder and double-tap the picture you want to edit to open the Preview Tool.
2. Select a tool from the menu bar at the top of the screen.
3. Click 'Size' to open a pop-up box on the screen.
4. Deselect the "Ratio proPhotional" field so that you can enter the desired measurements.
5. Enter width, height, and pixel/inch (PPI).
- For Windows PCs
1. Double-tap the image to open it as a photo app.
2. Click the three points at the top to open the list of options and select "Size."
3. Click "Define Custom Dimensions" to enter the required width and height.
4. Save the resized image to the desired folder.
The resulting image might not be as good as you would like for the Naver Smart Store. Platforms like Adobe or Photoshop allow you to resize images, but if you're not already familiar with these tools, there are challenges. If you're looking for a solution that's fast and doesn't require prior knowledge, you can use an application like Photio to resize your image.
How to take perfect Naver Smart Store photos
Taking the perfect Naver Smart Store representative image literally means best representing the product and allowing potential buyers to appreciate its value and originality. Here are some helpful tips.
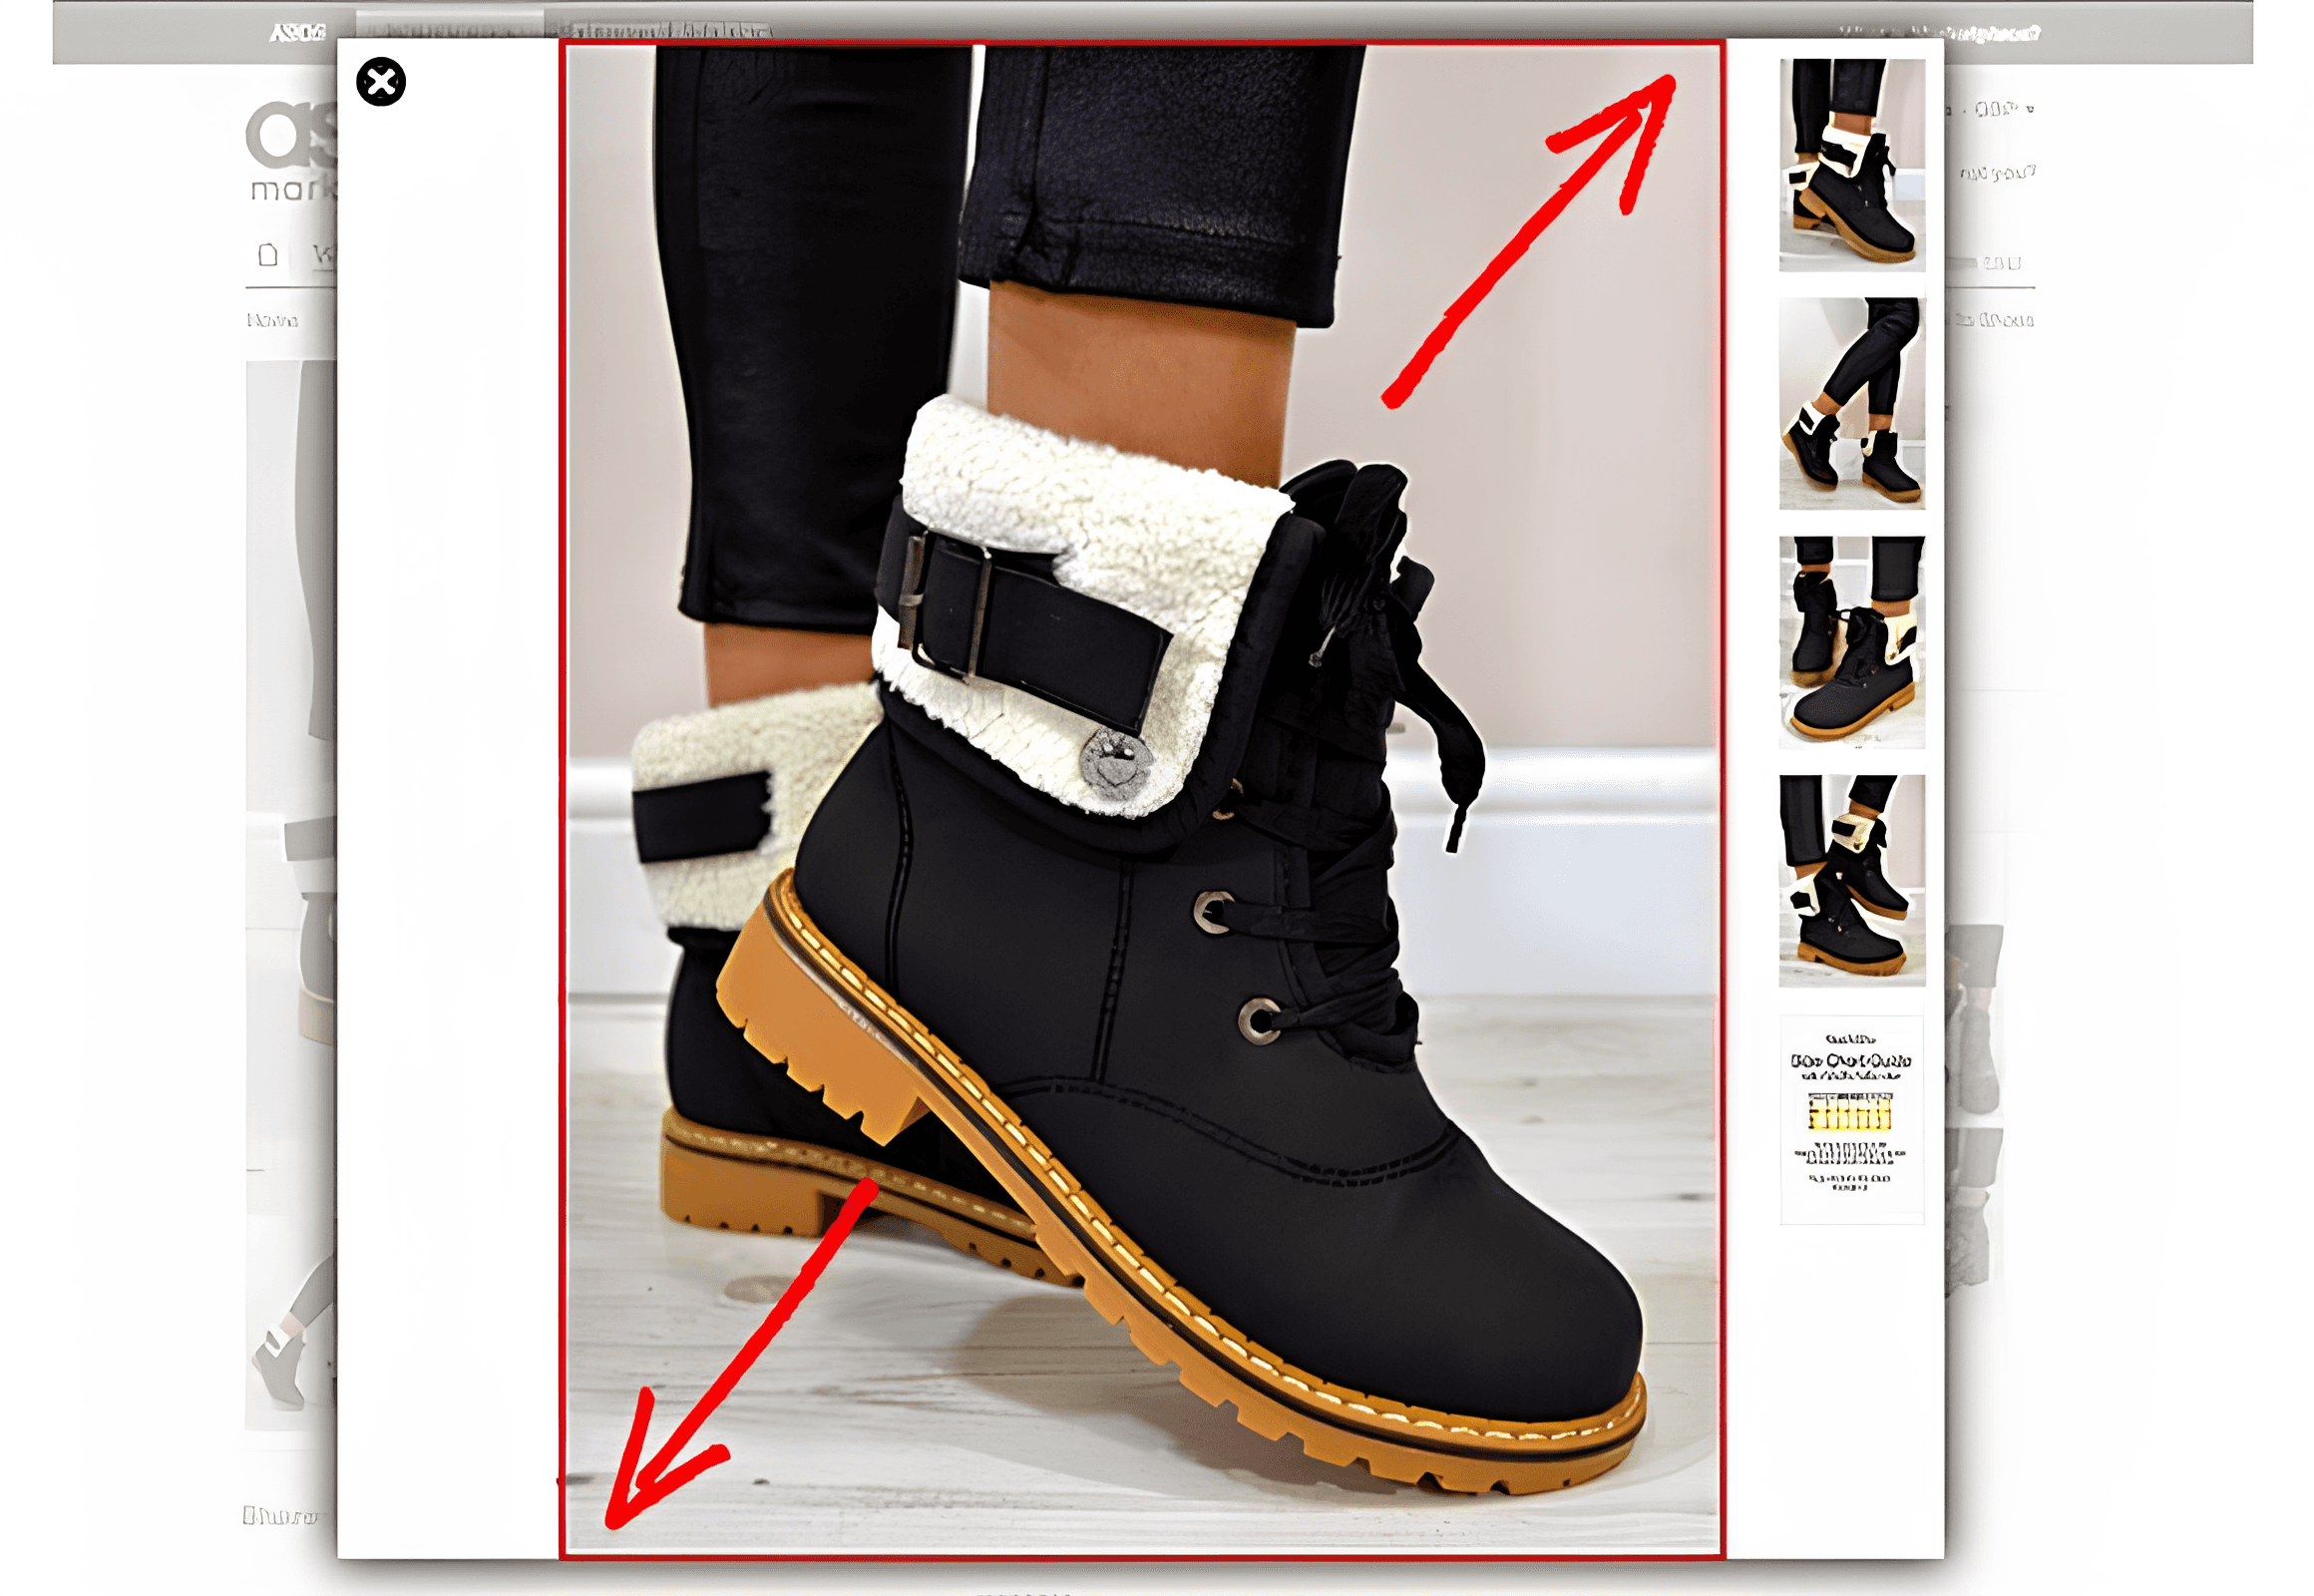
1. You have to use the image of the product you're selling. It's very obvious, but when you try to write a product name by choosing a good keyword, this can happen.
2. The product in the representative image should be available at the basic price. The product in the representative image should have no additional amount from the option when purchasing the product.
3. Products that are in the product name and those that are not in the product name must not be registered together. When selling products with various options, it may seem that if you put only one product on the representative image, you will only sell one product. Therefore, I often use images with multiple products together. However, even if the product in the product name is included in the representative image, it may be subject to ban if it is exposed with various other products.
4. In addition, if a representative image is created using props to make the product stand out, it can be subject to ban if it is not clearly determined what the product is like. They do not impose any ban only when the prop and the original product are distinguished.
5. For the attention effect, you should not use outer lines, figures, or artificial marks that are not related to the product. You can think of it as just taking a picture of the product on a simple background that stands out.
6. Do not insert promotional phrases. For example, do not insert phrases such as free shipping or No. 1 Naver Shopping.

Importance of Sizing the Representative Image of Naver Smart Store
Using the exact size of a photo that meets Naver's Smart Store guidelines can make your product look clear and professional. Sizing a photo of a Naver Display ad list is more than meaning just fitting the photo into a frame. Your photo is like a quiet salesman from your store. A well-prepared photo can deliver a lot.
- Your picture will be the first to be seen by potential buyers.
- If the picture is too large, the page load time will slow down, which can disappoint potential buyers.
- With synchronizing photos across all lists, you can create a visually harmonious and professional store atmosphere. It also ensures that your product photos are displayed responsive, making your smartphone look as good as it is on your desktop. This means that there are no unexpected cuts, zooms, or distortions that harm the shopping experience.
How to make a representative image of Naver's smart store through Photio
As the owners of the Naver Smart Store, we know that time is precious, so resizing and editing photos can be painful. If you're looking for an effective tool at this time, Photio can be the right tool. Photio has a user-friendly interface so you can resize photos without any difficulty.

In addition, Photio provides various functions related to product photos as well as resizing.
- Image Tone Adjustment: Makes your photo brighter and more atmospheric.
- Remove background: Quickly erase the background in a photo. You can create a variety of creations with results.
- Create background: Change the background in the picture. You can change the image to a background that matches the main subject.
- Photo retouching: Clears unwanted parts of product photos and takes care of them naturally.
- Clear image: It eliminates noise and enhances image quality.
View other articles creating product images: Introducing Photio and Basic Usage
Try Photio: app.photio.io


