AI Image Sharpener
Want to use a product photo at a larger size but need more clarity? Try AI image enhancement with 2x or 4x upscaling. Availability of 4x depends on your plan.
Start for free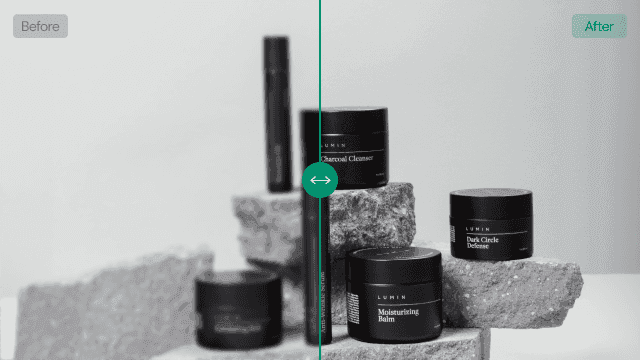
Get started in three steps
- 01
Upload the photo to enhance
Choose the original that shows the product's shape and surface most clearly. Look for the original capture before using a small image that has already been edited repeatedly. Check label text and material details before starting.
- 02
Choose a scale for your use
Consider where the photo will appear, then choose 2x or 4x upscaling. Availability of 4x varies by plan. Judge what you need by the intended display and the clarity of the result, rather than always choosing the largest scale.
- 03
Compare the result with the original
Review the whole image, then look closely at text, logos and surface patterns. Looking sharper does not necessarily mean that every product detail is accurate. Check the photo at its intended display size too.
Made for your next product image
Product detail photos
Explore enhancement when a photo of the product's surface or shape looks soft. Check important patterns and markings against the real item. Use a clear original source to verify text that shoppers need to read.
Store listing images
Refine a photo so the product outline is readable in a small listing. Enhancement alone may not address problems with lighting or composition, so also check whether the product stands out from the background.
Finishing social images
Review clarity after creating a background or making a local edit. Look at the photo at the size where it will be posted. Check for harsh edges or unfamiliar patterns that make the texture feel unnatural.
Tips for a better result
Find the strongest original
Think of enhancement as improving the image's presentation, rather than recovering real information that was never visible. If you have a photo with better focus and less camera shake, start with that one.
Inspect small text and patterns
Examine labels, logos and fabric patterns closely. A result may look clear while representing a detail differently. Correct changes that could misrepresent the product before using the image.
Check the intended display size
A photo can feel different when enlarged and when viewed in a page layout. Check natural color and texture at the size you plan to use, then choose a scale that suits that purpose.
Frequently asked questions
What is AI Image Sharpener?
It upscales images and improves their clarity. You can try it when preparing product photos for larger use. Results depend on the original, so compare the output with the product's real details.
Should I choose 2x or 4x?
Base the choice on your original and intended display. Availability of 4x depends on your plan. A larger scale is not always the best fit; inspect text and textures to decide what you need.
Can it recover blurred product information accurately?
It cannot guarantee an accurate recovery of text or details that are unreadable in the original. Check generated detail against the real product. Prefer a clear original when a photo needs to communicate product markings.
Does sharpening also change the composition?
Improving clarity is different from creating space outside a photo. For more room around a product or a different aspect ratio, explore Generative Expand. Choose the tool based on the change you need.
Where can I use an enhanced image?
Consider it for store listings, product detail pages and social posts. Check the destination's requirements separately and inspect the output for details that differ from the real item before publishing.
How much does it cost?
You can start for free. The amount you can use varies by plan, so check the pricing page for current options before deciding how to use Photio for your work.
View pricingExplore other AI tools
AI Photo Editor
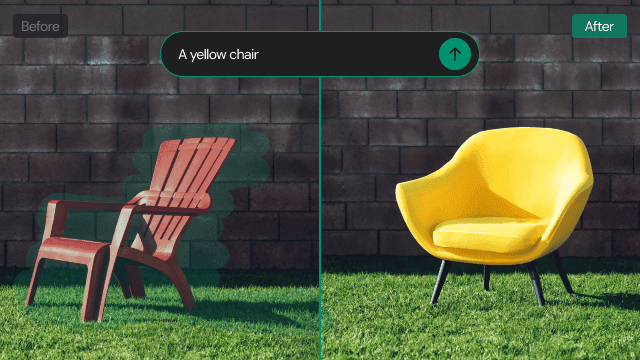
Love the product photo but want to change a distracting prop? Brush over the area to remove an object, or describe what you want to replace or add.
Learn more →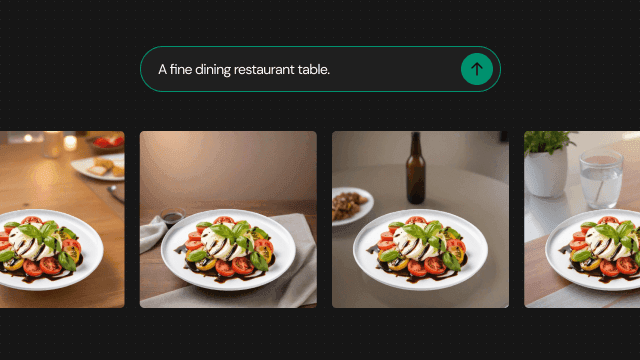
Text to Background
Describe the scene you have in mind, even without a reference photo. Use words for the setting, surface and lighting to create a new background around your product.
Learn more →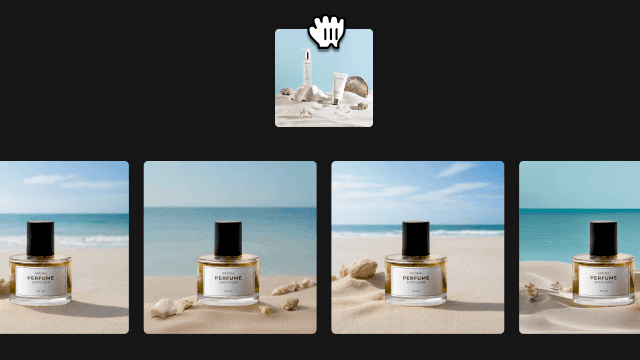
Image to Background
Show the atmosphere that is difficult to put into words. Prepare your product photo and a reference image, then explore a new background inspired by its look and feel.
Learn more →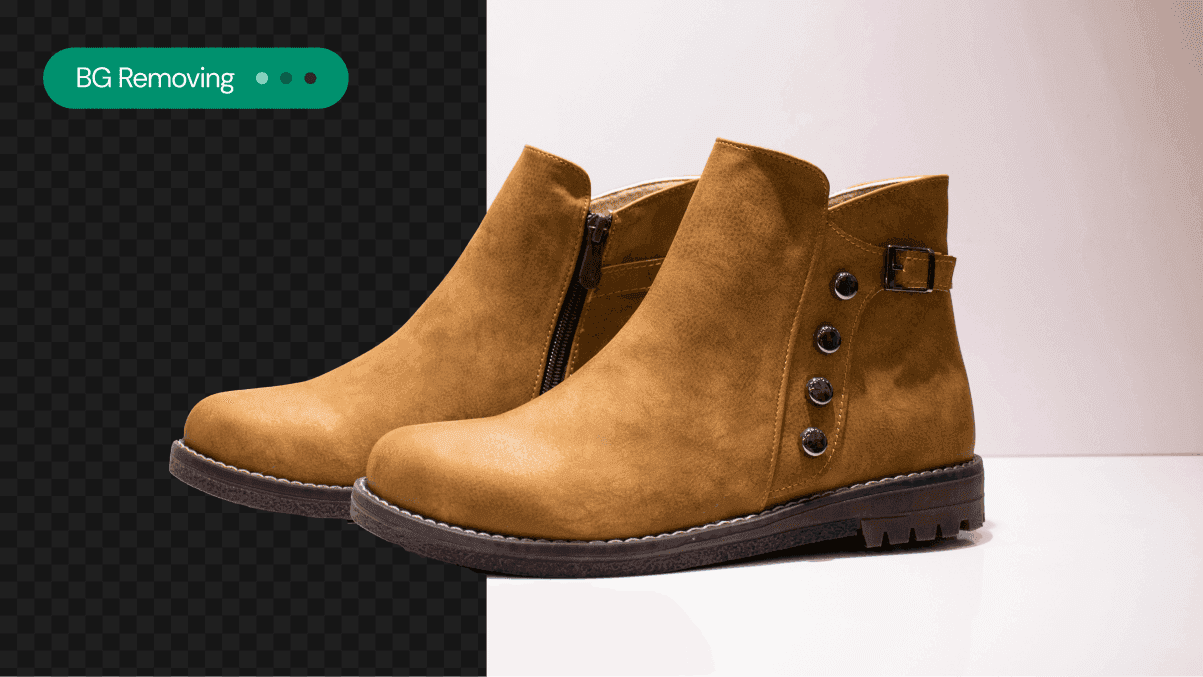
Background Remover
Is the setting drawing attention away from your product? Use AI Background Remover to separate the subject and prepare a starting point for its next scene.
Learn more →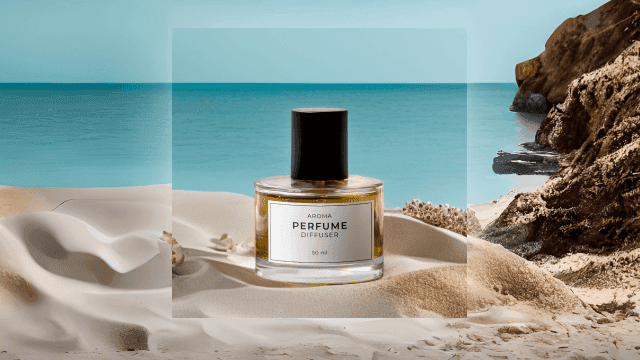
Generative Expand
Need more room around your product without cropping it out? Use Generative Expand to fill beyond the original photo and explore a composition with the aspect ratio you need.
Learn more →