AI Photo Editor
Love the product photo but want to change a distracting prop? Brush over the area to remove an object, or describe what you want to replace or add.
Start for free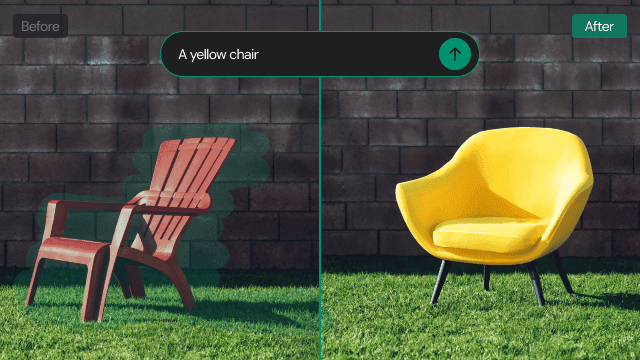
Get started in three steps
- 01
Prepare your product photo
Upload a photo that clearly shows the product and its surroundings. Decide what you want to change and what needs to stay before editing. Keep the original separately so you can compare the result with the product you started with.
- 02
Brush over the area and describe the change
Select the area you want to erase or replace. To add or replace an object, describe its appearance, color and material. For example, select some space beside the product and ask for a small white flower.
- 03
Check how the edit fits the scene
Look at the edges and shadows around the edited area. Compare the product label and shape with the original too. If the result is not what you intended, adjust the selected area or make your description more specific.
Made for your next product image
Clean up store listing images
Remove distracting props around your product so shoppers can focus on what you sell. Check the image at a small size as well: the product should still be easy to identify in a listing.
Refresh product detail images
Try a different prop while working from an existing photo. Match the setting to the product story, and check that added elements will not be mistaken for items included with the purchase.
Style a scene for social posts
Add a seasonal element beside the product or replace an object that does not suit the post. Choose props around the theme and product colors so the scene does not become cluttered.
Tips for a better result
Keep the selection focused
Selecting the whole product for a small edit can introduce changes you did not intend. Choose the object and its surroundings carefully, and check that labels and logos you want to keep are outside the selected area.
Describe material and placement
Try ‘a small matte ceramic vase to the right of the product’ instead of ‘make it nicer.’ Thinking about size, color and material helps you describe a result that belongs in the scene.
Check lighting and product accuracy
Look at the direction of light and the shadow where the new object meets the surface. Even an appealing scene needs another pass if it makes the product's color or shape look different from the real item.
Frequently asked questions
What is an AI Photo Editor?
It is a tool for selecting part of a photo and removing or replacing objects in that area. Choose where to work and describe the change you want, so you can refine an existing product scene.
How do I edit a specific part of the photo?
Brush over the part you want to change, then remove it or describe a replacement. Inspect the surrounding edges and the product as well as the selected area to see whether the result fits the scene.
Can I add an object that was not in the photo?
Select the location and describe the element you want to create. Consider the available space and the product's size. The shape or position may differ from your intent, so review the result and refine your request.
Which tool should I use to replace the whole background?
Start with the photo editor for a local prop change. For a new setting, explore Text to Background or Image to Background. Choose the tool based on how much of the scene you want to change.
Can I request an edit in words?
You can share a photo and describe the change to the AI photo chatbot in the app. Explain what should stay and what should change. Compare the result with the original product before using it.
How much does it cost?
You can start for free. The amount you can use varies by plan, so check the pricing page for current options before deciding how to use Photio for your work.
View pricingExplore other AI tools
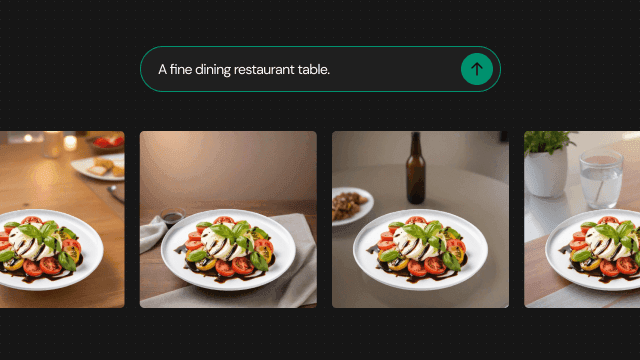
Text to Background
Describe the scene you have in mind, even without a reference photo. Use words for the setting, surface and lighting to create a new background around your product.
Learn more →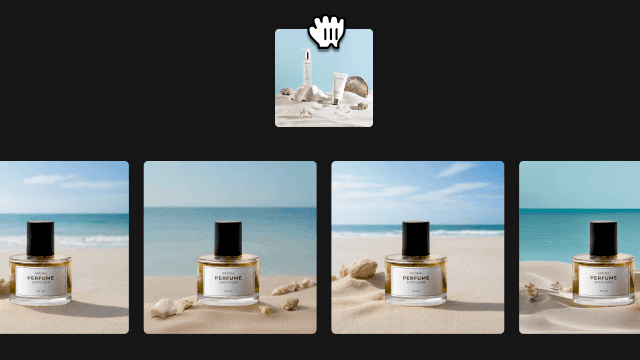
Image to Background
Show the atmosphere that is difficult to put into words. Prepare your product photo and a reference image, then explore a new background inspired by its look and feel.
Learn more →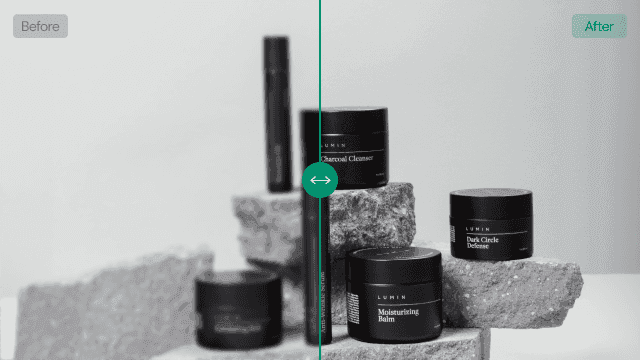
AI Image Sharpener
Want to use a product photo at a larger size but need more clarity? Try AI image enhancement with 2x or 4x upscaling. Availability of 4x depends on your plan.
Learn more →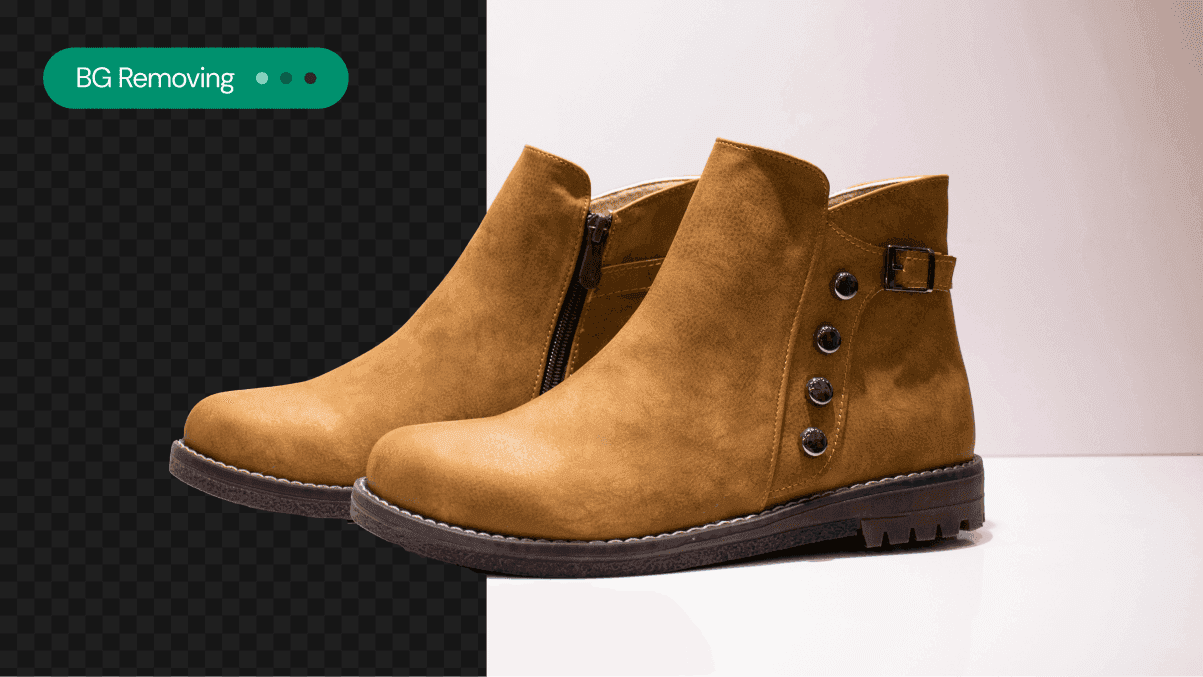
Background Remover
Is the setting drawing attention away from your product? Use AI Background Remover to separate the subject and prepare a starting point for its next scene.
Learn more →
Generative Expand
Need more room around your product without cropping it out? Use Generative Expand to fill beyond the original photo and explore a composition with the aspect ratio you need.
Learn more →