Background Remover
Is the setting drawing attention away from your product? Use AI Background Remover to separate the subject and prepare a starting point for its next scene.
Start for free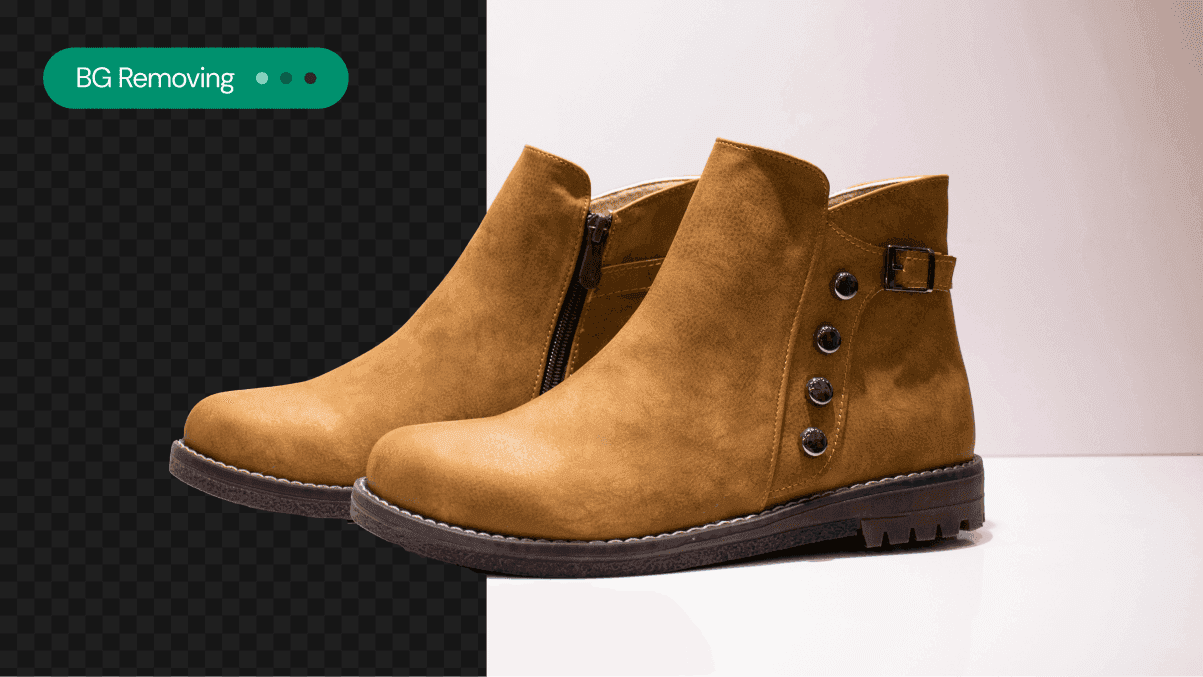
Get started in three steps
- 01
Upload the original product photo
Prepare the photo whose background you want to remove. Check that the product edges are not cut off and that the subject is distinguishable from its surroundings. If objects overlap, decide what you want to keep.
- 02
Check the removal result
Review how AI has separated the product from the background. Look beyond the overall shape: inspect openings in handles, thin edges and gaps between objects. Compare with the original for missing product parts.
- 03
Plan the next setting
After checking the isolated product, decide what background should go with it. You can create a new setting from text or a reference image. Review edges and shadows again when the product appears in that scene.
Made for your next product image
Prepare store listing images
Clear a distracting setting so shoppers can identify the product in a small listing image. Check that every included item remains visible and that unrelated objects have not been left beside the product.
Plan product detail layouts
Use the isolated subject to plan a product-focused layout. Consider where descriptions and surrounding space will go. When using different photos together, check whether the products appear consistent in scale.
Start a new background
Check the product outline before trying a seasonal or brand-inspired setting. Understanding the separated edges can help you spot awkward transitions in the next scene. Always evaluate the result with the product included.
Tips for a better result
Choose a clearly defined outline
Similar colors or overlapping shadows can make the product hard to distinguish from its background. If you have another original, try one with clearer separation. Check focus as well as contrast.
Inspect thin edges and empty spaces
Pay attention to narrow straps, handle openings and transparent materials. Enlarge the result to compare leftover background and missing product areas. Try a clearer original if the separation is unsatisfactory.
Review it on the new background
An edge that looks fine in isolation may stand out against another color. Check the outline and surface contact in the intended setting. Treat removal and the appearance of shadows in a new scene as separate checks.
Frequently asked questions
What is Background Remover?
It separates the product from its surroundings and removes the background. Use it to start a product cutout, then inspect the outline and decide what to do next for your intended scene.
How do I use Background Remover?
Upload a product photo in the app and inspect the result. Check that the entire product remains and the background between objects is removed. Consider another original if the subject overlaps or blends into the setting.
What types of product photos work as a starting point?
Choose photos with a visible product shape and clear separation from the background. Thin edges and transparent materials need closer review. Inspect your result instead of assuming identical edge quality across different photos.
How is removal different from background generation?
Removal separates the subject from its existing scene. To create a new place or atmosphere, explore Text to Background or Image to Background after checking the product outline.
What should I do if I am not satisfied with the result?
First check whether product parts are missing or background areas remain. Try another in-focus photo with a more distinct outline. Enlarge the problem area instead of judging the result only at a small size.
How much does it cost?
You can start for free. The amount you can use varies by plan, so check the pricing page for current options before deciding how to use Photio for your work.
View pricingExplore other AI tools
AI Photo Editor
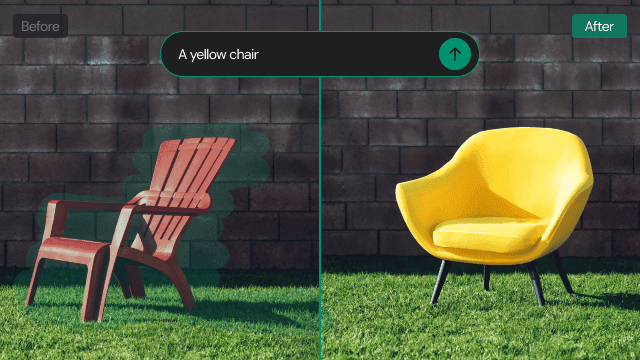
Love the product photo but want to change a distracting prop? Brush over the area to remove an object, or describe what you want to replace or add.
Learn more →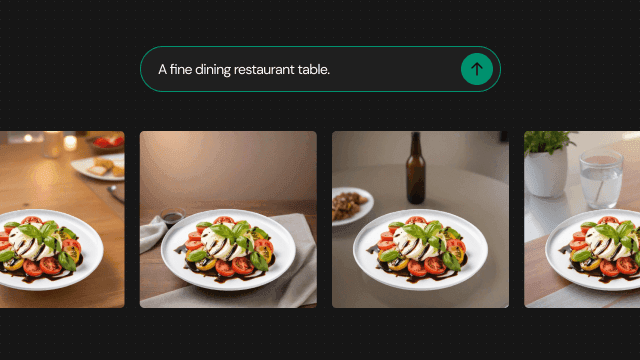
Text to Background
Describe the scene you have in mind, even without a reference photo. Use words for the setting, surface and lighting to create a new background around your product.
Learn more →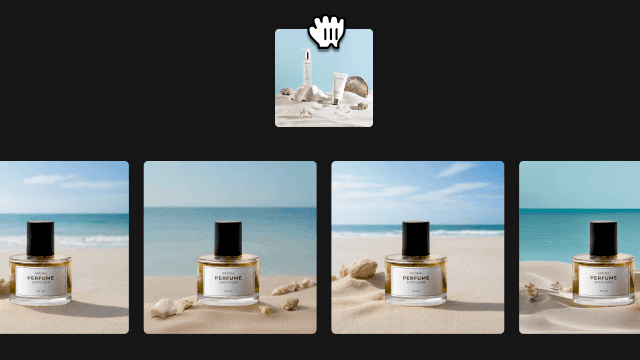
Image to Background
Show the atmosphere that is difficult to put into words. Prepare your product photo and a reference image, then explore a new background inspired by its look and feel.
Learn more →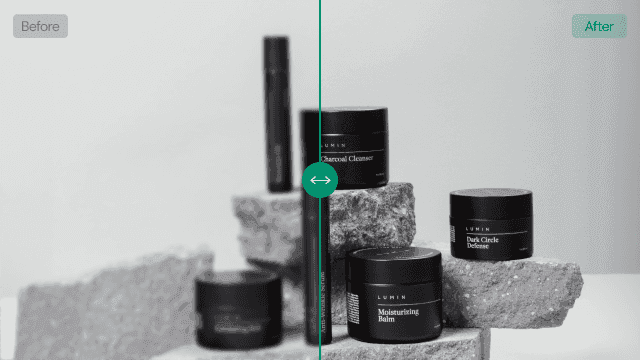
AI Image Sharpener
Want to use a product photo at a larger size but need more clarity? Try AI image enhancement with 2x or 4x upscaling. Availability of 4x depends on your plan.
Learn more →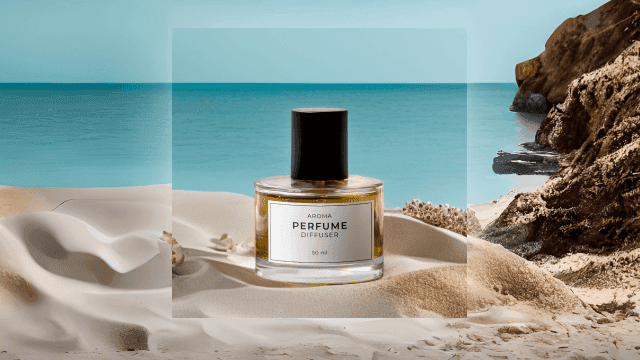
Generative Expand
Need more room around your product without cropping it out? Use Generative Expand to fill beyond the original photo and explore a composition with the aspect ratio you need.
Learn more →